
A concrete slab is the foundation for many structures, including homes, garages, sheds, patios, and commercial buildings. A properly installed slab provides strength, stability, and long-term durability. While the finished surface may look simple, the installation process involves several important steps. Understanding how a concrete slab is installed can help property owners appreciate the work that goes into creating a strong and reliable foundation.
Step 1: Site Preparation
The first step is preparing the area where the slab will be installed. Contractors clear away grass, debris, rocks, and any other materials that could interfere with the project. The ground is then leveled to create a stable base. Proper site preparation is essential because uneven or unstable soil can lead to future cracking and settling.
Step 2: Excavation and Base Installation
After clearing the site, the area may be excavated to the required depth. A layer of gravel or crushed stone is often added to create a solid base. This base helps improve drainage and provides support for the concrete slab. The material is compacted carefully to prevent shifting after installation.
Step 3: Building the Forms
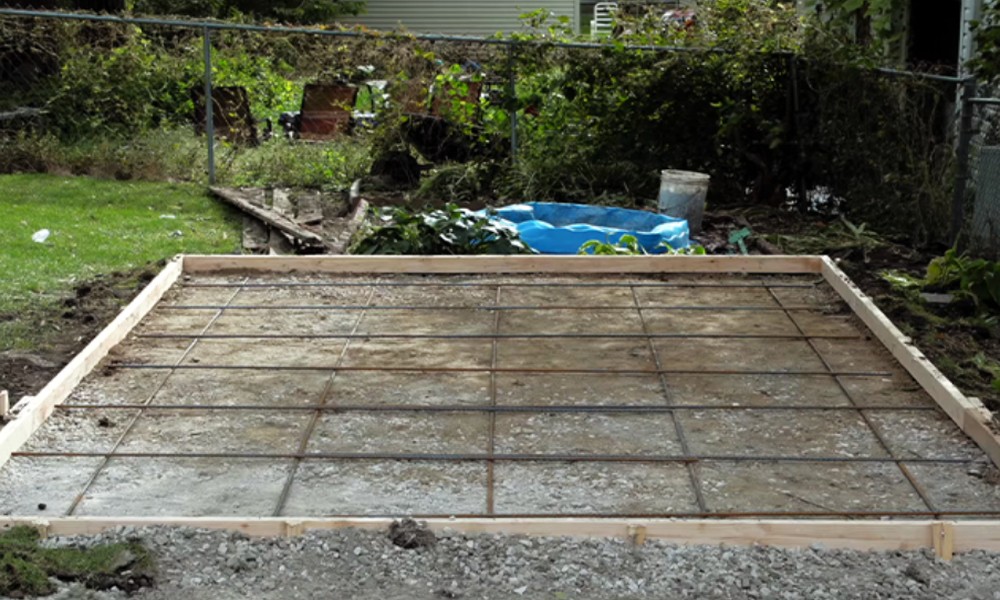
Forms are temporary barriers that hold the wet concrete in place until it hardens. These forms are usually made from wood or metal and are placed around the perimeter of the slab area. Contractors carefully measure and position the forms to ensure the slab has the correct shape and dimensions.
Step 4: Adding Reinforcement
Many concrete slabs include reinforcement materials such as steel rebar or wire mesh. Reinforcement helps increase strength and reduce the risk of cracking. The reinforcement is placed inside the forms before the concrete is poured.
Step 5: Pouring the Concrete
Once everything is prepared, the concrete is poured into the forms. Contractors spread the concrete evenly and work quickly to ensure a consistent surface. Proper pouring techniques help prevent weak spots and uneven areas.
Step 6: Finishing the Surface
After the concrete is poured, the surface is smoothed and leveled using specialized tools. Depending on the project, contractors may apply different textures or finishes. Control joints may also be added to help manage natural expansion and contraction.
Step 7: Curing the Concrete
Curing is one of the most important parts of the process. During curing, the concrete gains strength as it hardens. Keeping the slab properly cured helps improve durability and reduces the risk of cracks. The curing process can take several days or longer, depending on weather conditions.
At Unique Concrete Design, we follow proven installation methods to create strong and long-lasting concrete slabs. We focus on careful preparation, quality materials, and expert workmanship throughout every project. We take pride in delivering durable concrete solutions that provide a solid foundation for years to come.
This post was written by a professional at Unique Concrete Design. Unique Concrete Design, your top choice for creative concrete solutions in Greenville and Upstate South Carolina. From stamped patios to durable driveways, we specialize in transforming ordinary concrete into extraordinary works of art. With quality craftsmanship and attention to detail, we bring your vision to life both indoors and outdoors. Contact us today for stunning designs that stand the test of time. Unique Concrete Design is a local company built by families and individuals proudly serving our community. Click here to learn more!
